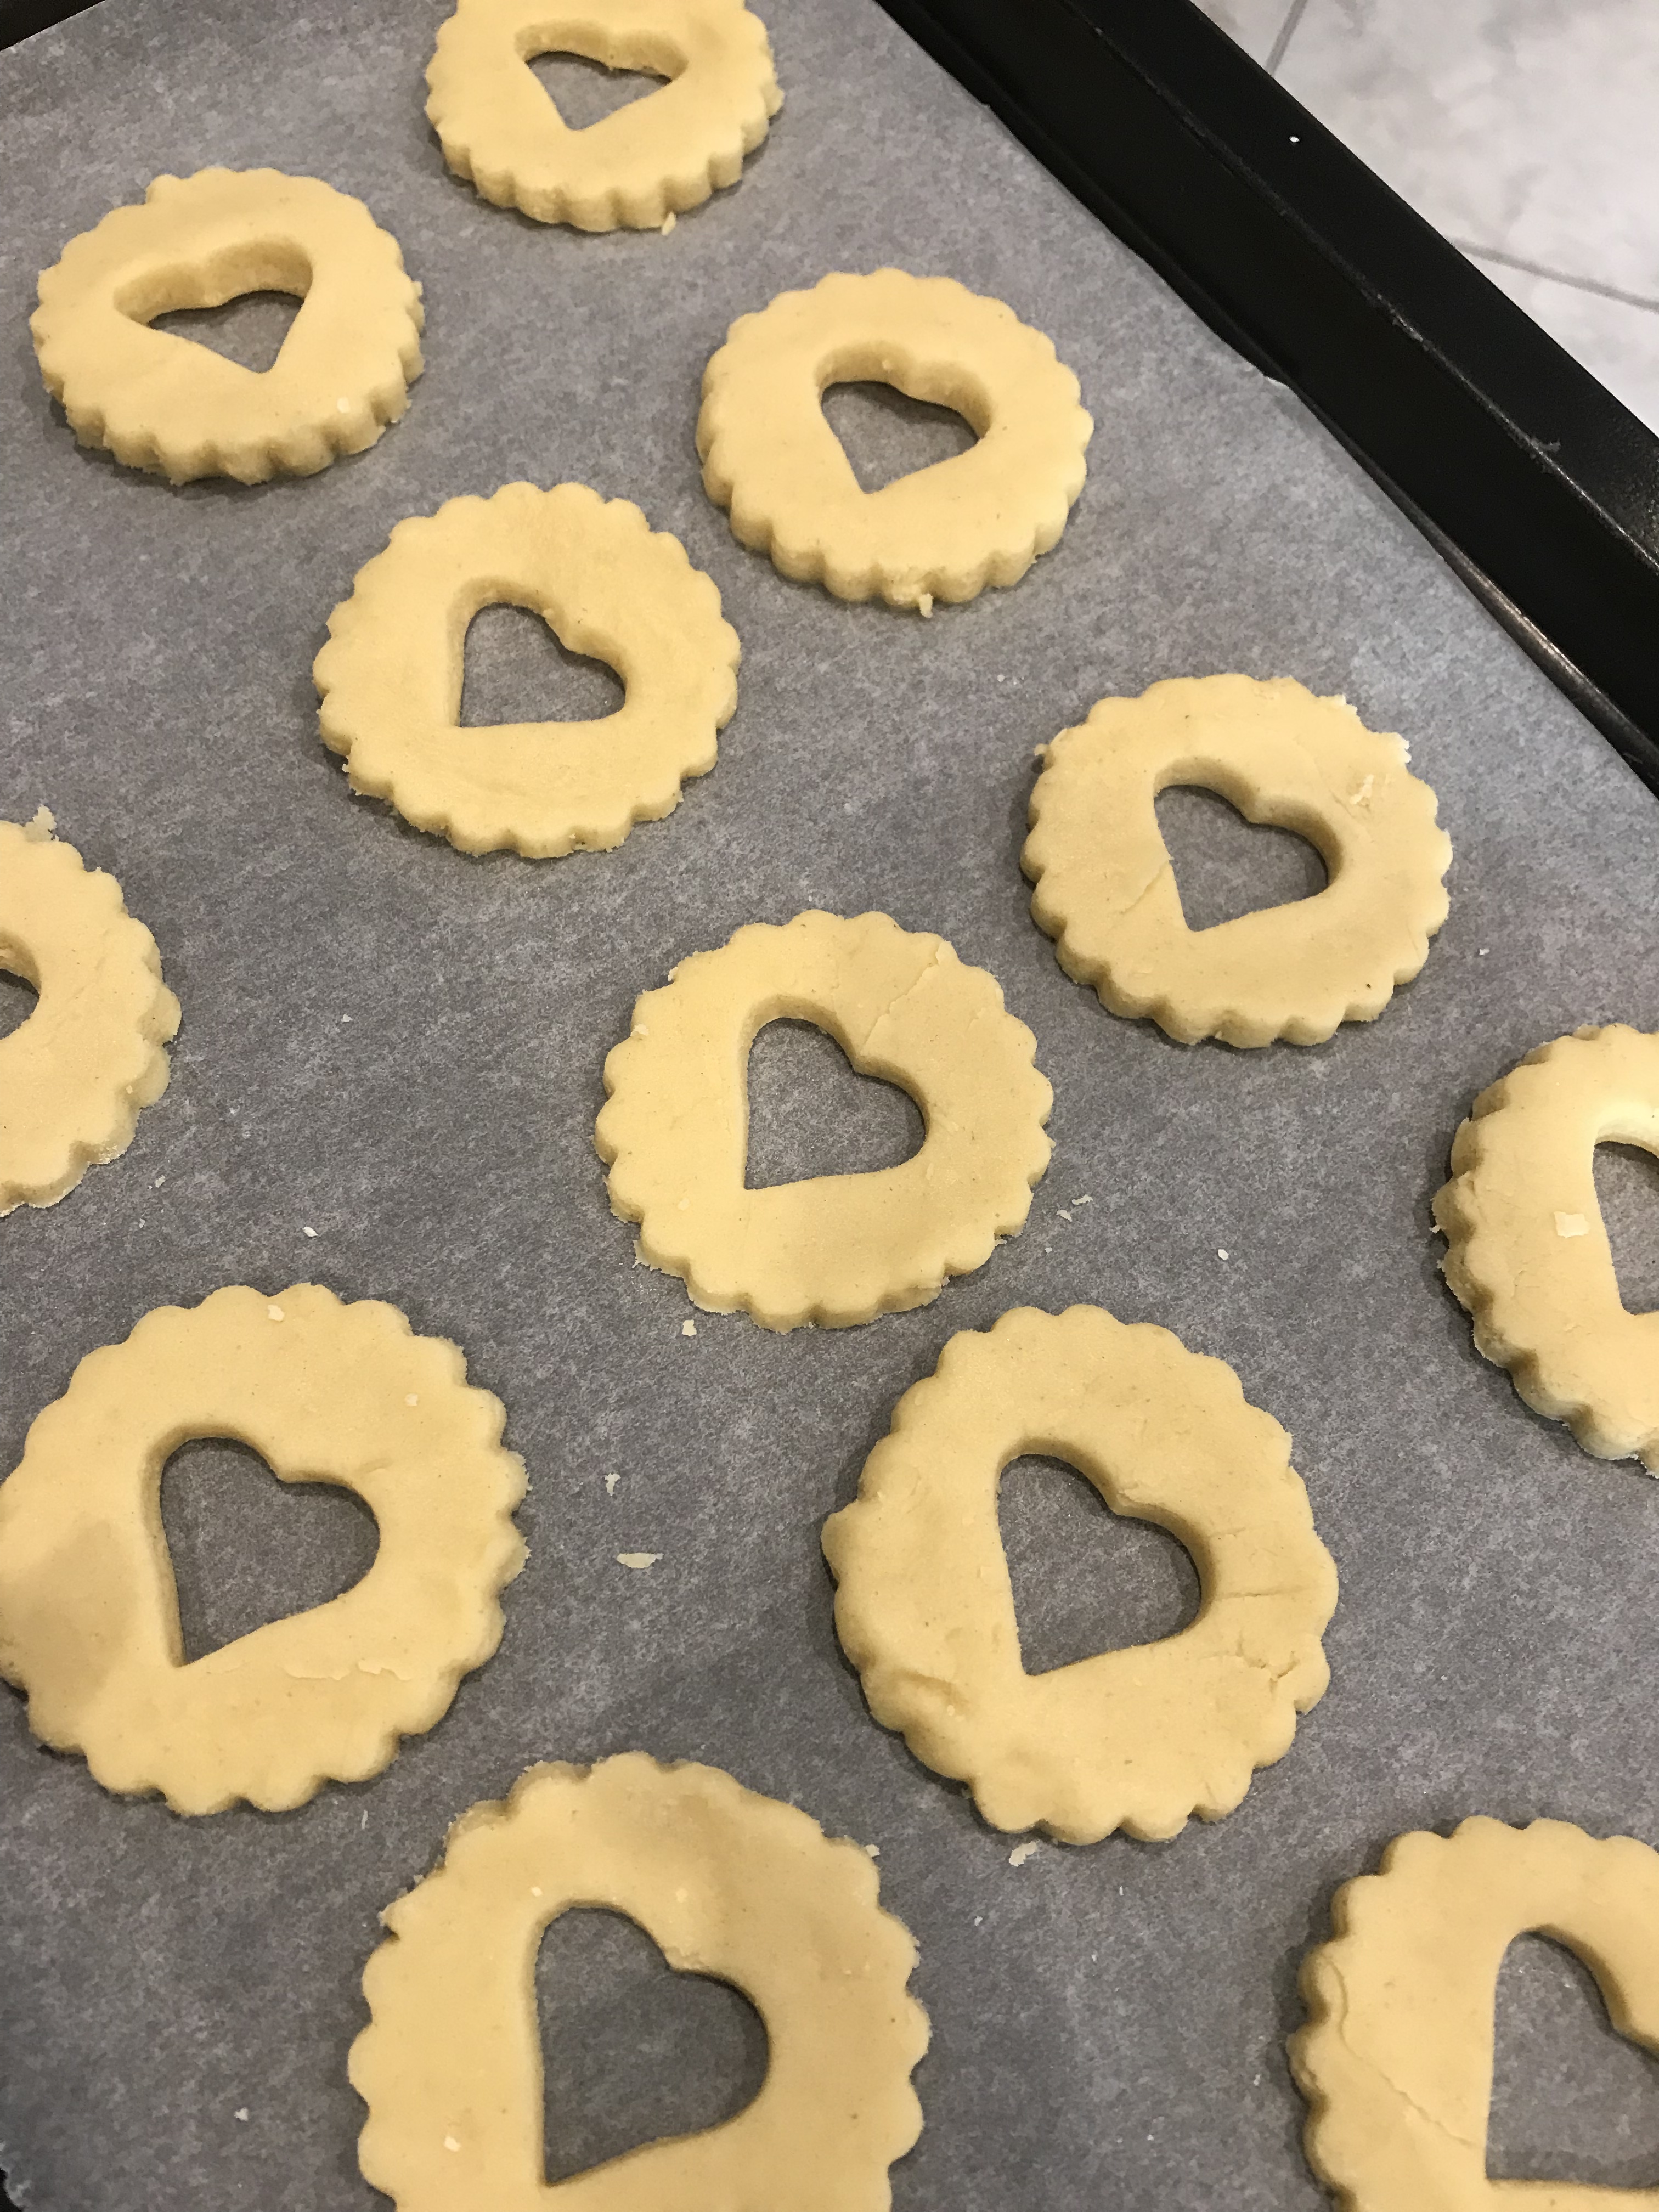
I got quite brave one day and decided I was going to make a homemade version of the much loved Jammie Dodger. I think it’s better to know what was in my biscuit and if I was going to indulge in a few, then at least I knew there were all good quality ingredients.
They just need some settling time in the fridge before baking so remember to include that in your planning. Have fun with them!

You will need a little patience as the dough does have to sit in the fridge for at least 30 minutes to an hour so maybe start off in the morning so you can finish later in the day. If you’re making the Gluten Free version, you need to leave them for about 45 mins before rolling out.
These biscuits are so colourful and bring a smile to your face! They really remind you of being young when you could eat as many biscuits as you liked and still fit into your clothes! They look great but they are quite simple to make and if you have shaped cutters, you can have a lot of fun with them. Kids might like to make Smiley Faces, Flowers or Animal Shapes. I used heart shape cutters for a Valentine’s theme bake.
The recipe says it makes 12 but I got more out of it. I used the remainder of the dough to cut out and decorate Butterfly shaped biscuits so personalise this great dough recipe whichever way you like.
Ingredients:
200g unsalted butter, softened (I put mine on top of the hob while the oven is pre heating)
100g golden caster sugar
1 tsp vanilla extract
1 egg, lightly beaten
300g plain flour or 250g plain flour and 50g ground almonds (I used the latter option as ground almonds add something yummy) – I tend to use the latter for my Gluten Free version so 250g Gluten Free Plain Flour and 50g GF safe Ground Almonds with 1/2 tsp Xanthan Gum
Good quality jam – I used 3 types of jam – Passion Fruit, Lemon Curd and Raspberry
Icing sugar to dust for a pretty finish
You will need a 5cm and a 3cm approx cutters. I made some with the plain side of a scone cutter and others with the fluted edge; You should have at least 1cm of biscuit around the central hole for them to hold and then the rest is up to you.
Ideally leave these for a day after making them so the jam sticks properly and they won’t slide apart. We did indulge in them later in the day and ate the rest over the next two days.
Method:
Cream the butter, sugar and vanilla. If you have a free standing mixer, this is much easier. Add the beaten egg a little at a time and beat well after each addition. Scrape down the sides of the bowl to make sure everything is well mixed.

Sift the flour then add the ground almonds (if using) into the mixture. Mix well but stop as soon as the dough starts to form because if you over mix, it can make the biscuits a bit tough. For the Gluten Free version, this is important not to overwork the dough. Bring the dough together with your hands and divide in half. Flatten each piece into a large disc about 1cm thick (yes I did measure) and wrap each disc tightly in cling film. Chill (this is important) 30 mins for regular version and 45 mins minimum for Gluten Free version
Preheat the oven to 180C / Gas Mark 4 and line two baking trays with non stick parchment.
Put the chilled dough between two sheets of cling film and roll out to a thickness of 3-4mm. Try to stick with this as too thick results in not particularly nice biscuits. Use the large cutter and stamp out 24 circles of dough. Use the smaller cutter to stamp out the centre hole in half of the 24 circles. So you have 12 complete and 12 cut out.

Place the circles on the prepared tray, space them at least 3cm apart. (Did I mention you may need a measuring tape to make this recipe??) Bake for about 15 mins until lightly golden. I found that in my fan oven, this was a little too long and that 11 minutes was perfect so I would check on them after 10 mins and you might need to turn the tray for an even bake. Just keep an eye on them.
Leave the biscuits to cool on the tray for about 10 minutes and use a palette knife to transfer them to a wire rack. They will harden as they cool.
Once they are completely cool, use a good generous teaspoon of jam to sandwich them together. Don’t dust with icing sugar until ready to serve.

** Note **
If you only have one baking tray, once the first batch is done, run the tray under cold water to cool it down completely. This prevents the biscuits from spreading before they start to bake
Baked with lots of love 🙂
Soraya x
Yum!