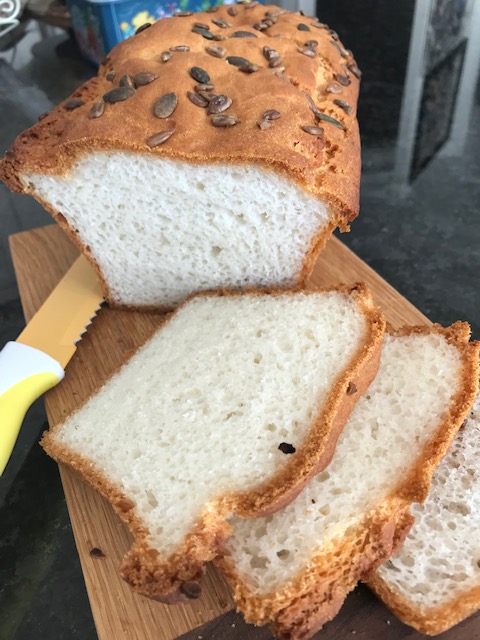
After the success of the Gluten Free Brown Bread Recipe, link here: https://www.cozebakes.com/2019/08/24/gluten-free-brown-bread/ I decided to try a white bread one. I’m not a fan of white bread and rarely eat it. The highly processed and additive full versions add nothing to a healthy diet so why include it?
Then I found this recipe, also from the folks at Doves Farm for their white bread recipe and thought it was worth a try. I’m converted! Plain and simple, totally converted! It is so delicious and cuts so beautifully, plus I know exactly what the ingredients are. I had no bloating or feeling of being unwell after eating it which was a very pleasant surprise.
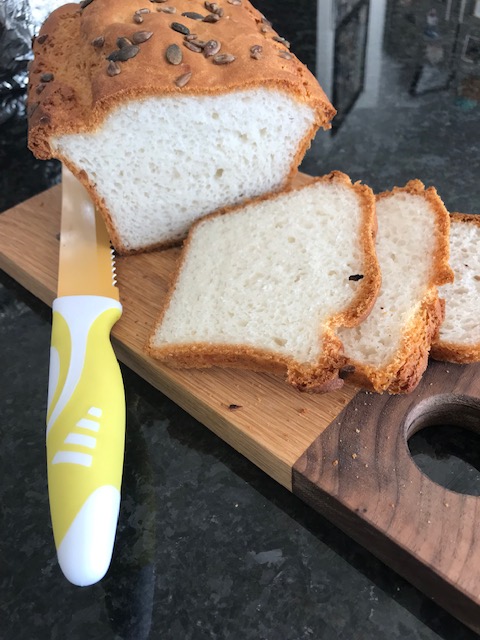
Honestly I spent that much time just looking at the results of this recipe, it’s crazy but I couldn’t believe that gluten free white bread could turn out so beautifully, cut so well, taste so good and keep longer than a lot of other gluten free breads I’ve made in the past.
So I’ll list the ingredients below as usual and give a step by step method with images so that you also get a perfect result.
If you have an allergy to eggs, you can use 20g of chickpea flour mixed with 60ml of water and that will be equivalent to the two egg whites required in the recipe.
I left this plain as it’s used mainly for sandwiches and toast with scrambled eggs, poached eggs, etc., but the possibilities …. oh the possibilities are endless and my mind went into overdrive until I was pulled up sharply by those who eat the gf bread so I’ll let you try out your favourite flavour variations and let me know how you get on.
Ingredients:
2 egg whites (see above for alternative)
6 tbsp oil (I used ordinary vegetable oil)
1 tsp vinegar
2 tbsp sugar
1 tsp salt
425ml water
500g White Bread Flour from Doves Farm Freee range
2 tsp Quick Yeast
Method:
Don’t preheat the oven until your bread has proved. It takes about an hour in my proving oven which is set at 40C but somewhere warm and draught free will work just as well.
Grease a 2lb loaf tin really well. I don’t mean just give it a brush around, I mean absolutely soak the tin with oil. It will mean your loaf will just pop out of the tin once it’s completely cooled. This is what I mean:
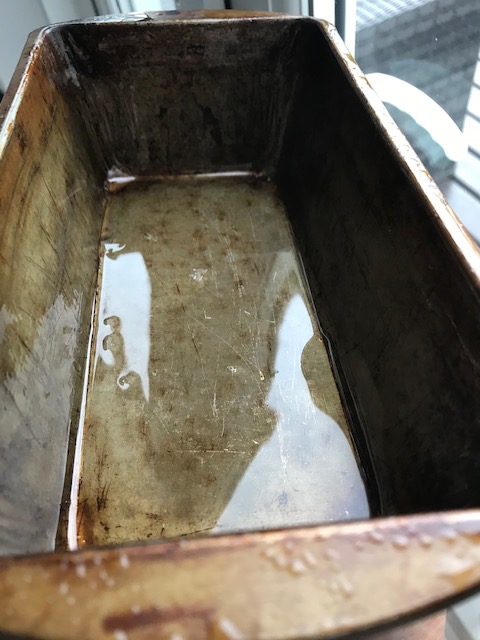
I know it looks like way too much but please take my word for it. This is how well greased it should be for a happy result!
In a large bowl, put in the egg whites, vinegar, sugar, salt, water and 3 tbsp of the oil and whisk well. It’s white and frothy and that’s what you want.
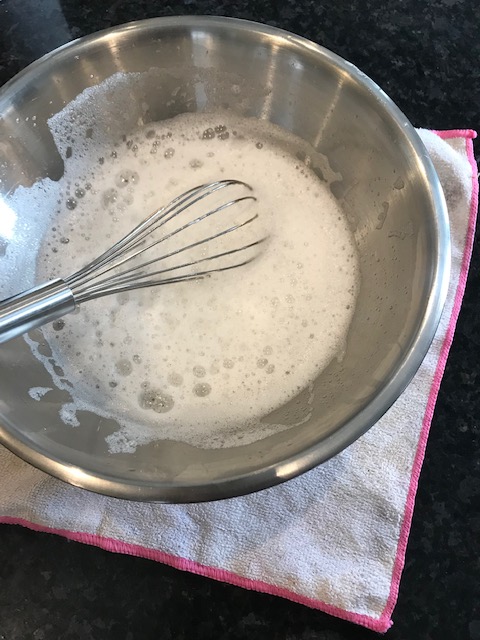
If you notice, I have a damp dish cloth under the bowl while whisking. It means I can put my effort into the whisking and not have to hold the bowl. The damp cloth will keep it in place so you whisk for a shorter time with less work 🙂
Add the flour and yeast and mix to a smooth, thick batter. I found I had to use a large whisk to achieve a smooth batter rather than a large spoon.
Next pour the remaining 3 tbsp of oil over the batter and just give it a turnover a few times with a large metal spoon and it will bring the whole thing together to a soft dough.
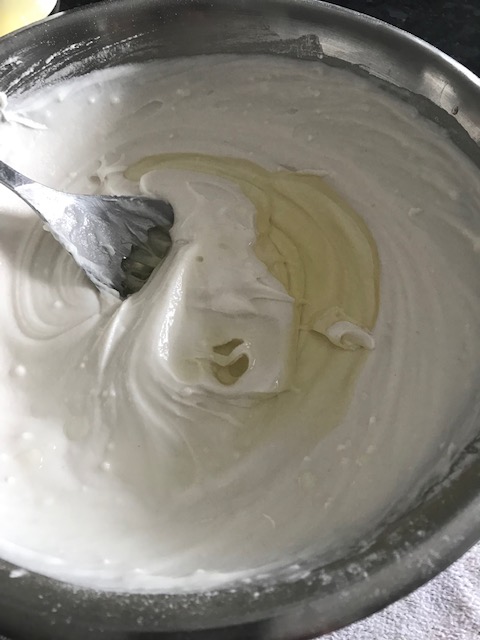
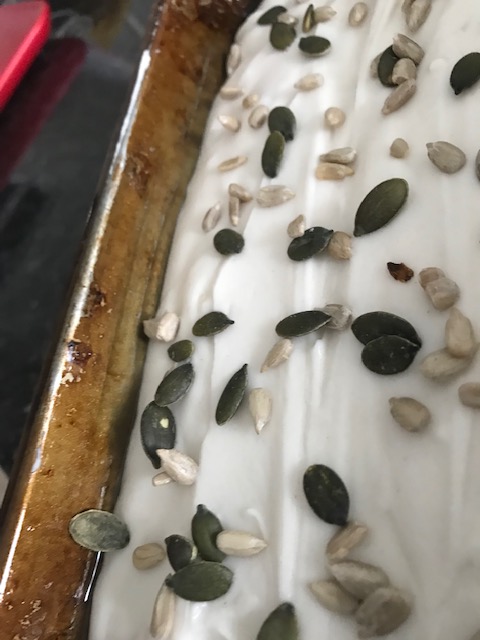
Get your prepared 2lb tin and spoon the dough into it and then smooth the top. I added some sunflower and sesame seeds for an added boost. You will see below how far up the dough comes in the tin before you prove it – also can you see the oil? Yep it’s worrying but necessary and it works!
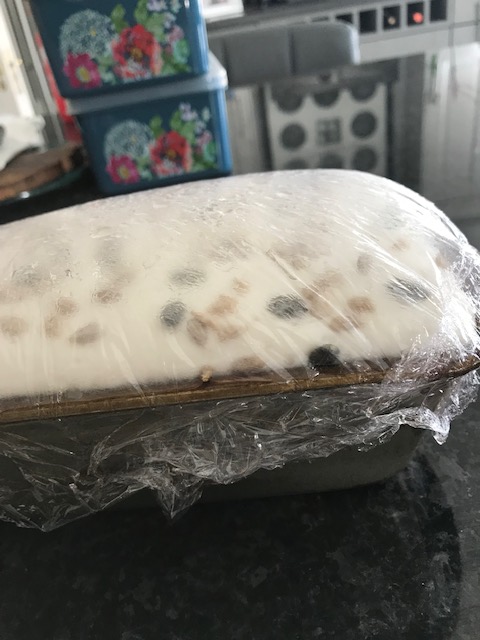
Oil a piece of cling film and loosely cover. Next leave it till the dough has risen to the top of the tin. As I said earlier, my oven sets the proving at 40C but whatever method works is fine. It will take approximately an hour but might take more depending on where you leave it. I’ve tried this a few times and now I would advise that you stop the proving before it gets as high as it has below. It means the edge of the bread can bake over the side of the tin which adds to issues for removing from the tin so I would let the dough just come up to the sides of the tin and then remove for baking.
Then you are ready to bake. Remove the cling film and bake in a preheated oven of 220C or 200C Fan / Gas 7 for 55 – 60 mins. My oven runs hot so I leave my temp at 190C and it takes about 50/55 mins max to bake.
Check with a skewer to see it’s baked. It should come out clean. Remove from the oven and set the tin on a wire rack to cool completely. Don’t try to remove it from the tin before it’s cooled or it will stick. I did put a barely damp tea towel over the top of the bread for about half an hour just so the crust wouldn’t be too hard and it worked nicely but I didn’t do this with the brown bread version and that was also fine.
Once completely cooled, just pop out of the tin and enjoy to your heart’s content 🙂

I’ve tried it a few ways – just for research of course – and it never failed to please. It has a lovely crunch when toasted, it works so nicely with butter and jam; perfect under a poached egg and great to serve on the side with some creamy scrambled eggs!
Bake with love
Soraya x